


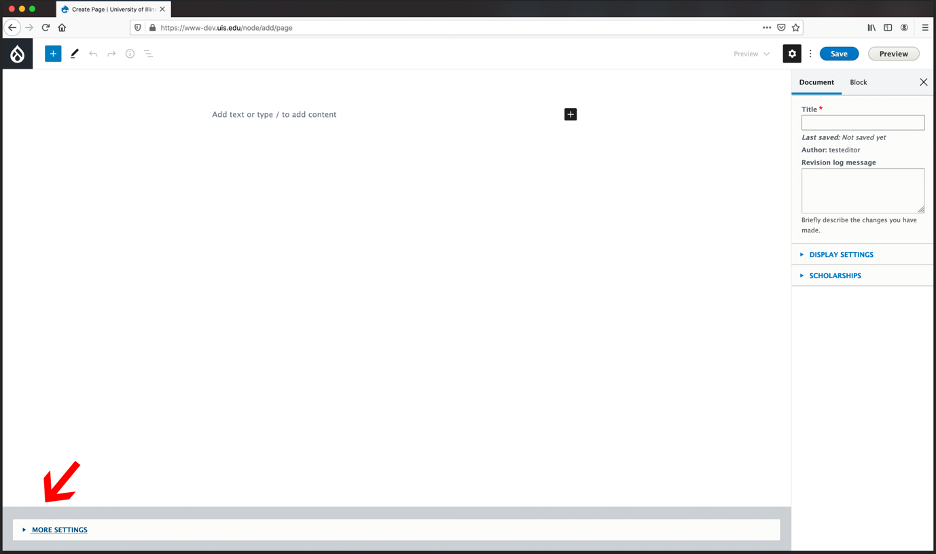
More Settings
There are multiple configuration options that need to be set when creating a page.
Directly under the main editor window there is a ‘More Settings’ accordion menu.
The current options available include:
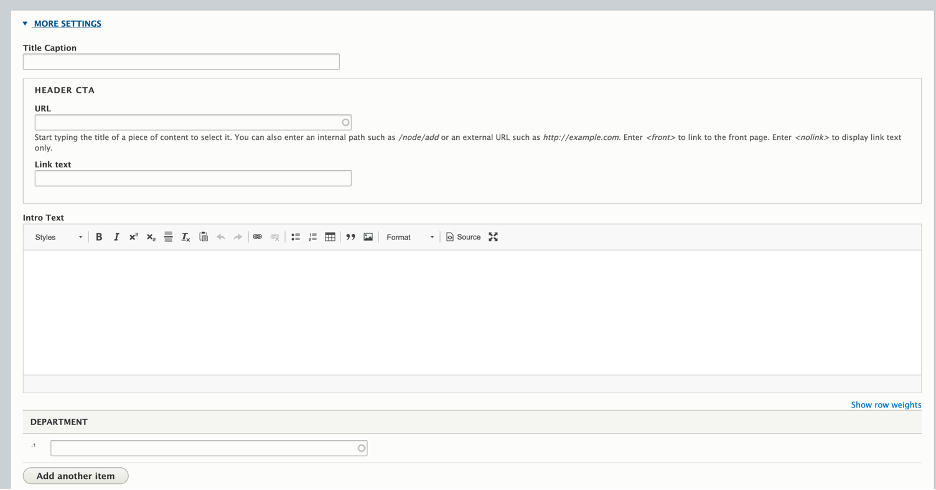
Title Caption
This option displays a sub-title directly under the page title in the header section of the page.
Header CTA
You can add a call-to-action (CTA) button in your header under the title caption and/or the title. A call-to-action element is a web page item that entices the viewer to take some sort of action – such as “Apply Now.” To implement a CTA button, you need to supply a URL and the text for the button.
Intro Text (only required for pages/sites using the main UIS theme)
The intro text section is used if the page is going to include a sidebar menu for navigation. The menu extends into the page when expanded. The intro text area sets margins at the upper portion of the page that allows the menu to extend into the page. It has basic WYSWYG edit controls such as text size, bullets and a link option.
Department
This adds the proper permissions to the page so others with access in the department can edit the content. There is an option to ‘Add another item’ and this is to allow multiple departments to edit and access the same piece of content if multiple departments are responsible.
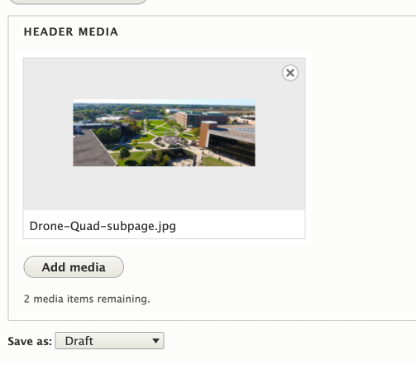
Header Media
You also have the capability to change the default header image to a different image(s) or video in the Header Media options. If using multiple images, they will randomly sort on page refresh to show the other images. Even though this is exciting functionality we do recommend using a consistent set of images throughout your department site to pull all your pages together. Sometimes, however, for a special page, it makes more sense to use a separate image.
The default image(s) included can be removed by clicking the X in the top right corner of the image thumbnail. Click ‘Add media’ to access the collection of images or to add a new image.
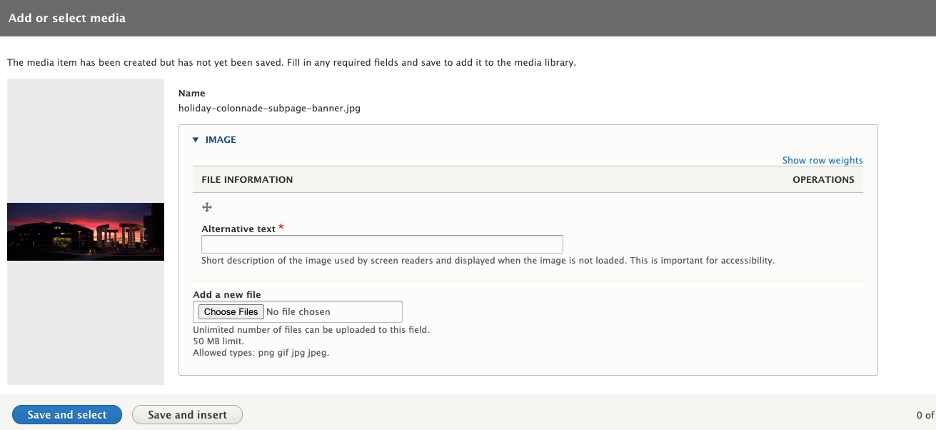
There are options to search for files in the media library by name or by the user that uploaded them.
If you choose to upload a new file, select ‘Choose File’ and select the image(s) you want to upload. You can select multiple images at once by holding Ctrl for PC or Cmd for Mac while clicking the images.
Once the image has uploaded, you will be presented with the Alternative text (alt text) window. This field is required – you cannot continue until text has been added. This field is used for our visually impaired users so it should be populated with a description of what is going on in the image but not too long. For ex. ‘campus at sunset’ would be good to use for the image below. You can upload multiple images at a time from the media library window. Hit ‘Save and select’ to select the image and go back to the media library or hit ‘Save and insert’ to insert the image(s) into the page and go back to the page editing screen.
Document Options
The first field presented is for the Title of the page. There is an option to add a message to the revision log. If you were having issues with something or needed assistance with the page you can mention what you need here. A general message can also be included about what or why you are updating.
Display Settings
Featured Image
Add a featured image to be used as a thumbnail for academic program pages, student experience page, etc. It is recommended to upload an image 600px wide, any height, and 72 dpi. If you need help with optimizing images, view this tutorial on how to do so https://uofi.box.com/s/32wf2w516vgqfvtqb8c8jg89mcdniphk.
How to Save and Publish Content
Learn how to save and publish content on the site. Note that different roles have different publishing capabilities.